The 2000 Chevrolet S10 truck uses two ball joints on each of the front wheels--one for the upper control arm and one for the lower one. If the ball joints have worn down over time, it will reduce your steering control, and the joints must be replaced. It is possible to replace an upper ball joint on this model truck, but it is still a difficult process that will require several tools and extensive manual labor.
Instructions
Removal
- 1
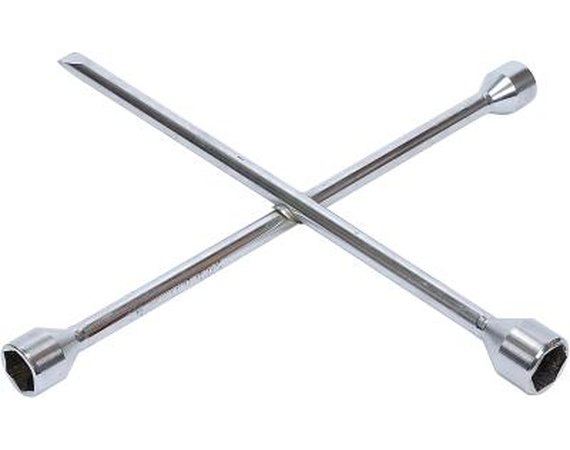
Raise and support the truck using a floor jack and jack stands. Remove the front wheel for the ball joint you are replacing using the truck's tire iron.
2Disconnect the brake caliper from the wheel's brake disc--remove its guide pin bolts with a flare-nut wrench. Hang the caliper someplace secure with an unbent coat hanger or other strong wire.
3Disconnect the speed sensor for the truck's antilock brake system and remove the wiring from the upper control arm. Bend and pull the cotter pin out of the ball joint and then loosen the ball joint nut by two turns of the wrench.
4Raise the floor jack underneath the lower control arm to compress the spring slightly.
5Separate the ball joint from the steering knuckle using a special ball joint separator tool from an auto parts store. A pickle fork tool is usually needed on a four-wheel-drive truck, but not recommended for a two-wheel-drive model.
6Drill out the rivets at the top of the ball joint to remove it from the upper control arm, than clean out the control arm with compressed air.
Installation
- 7
Install the replacement ball joint against the control arm's mating surface and attach the nuts and bolts that are included with the new joint using a torque wrench. Consult the installation instructions that should also come with the joint for the torque specifications.
8Attach the steering knuckle to the new ball joint, tightening the nuts to 61 foot pounds with the torque wrench.
9Insert a new cotter pin into the ball joint and bend it to secure it. If the castellated nut's holes don't line up with the cotter key, tighten the nut with the wrench until you can fit the cotter pin.
10Thread new grease fittings into the ball joint at the top of the control arm. Lubricate the ball joint using a grease gun with high-temperature grease and plenty of clean rags to clean up the grease.
11Re-connect the front wheel and lower the truck off the jack stands.
0 comments:
Post a Comment