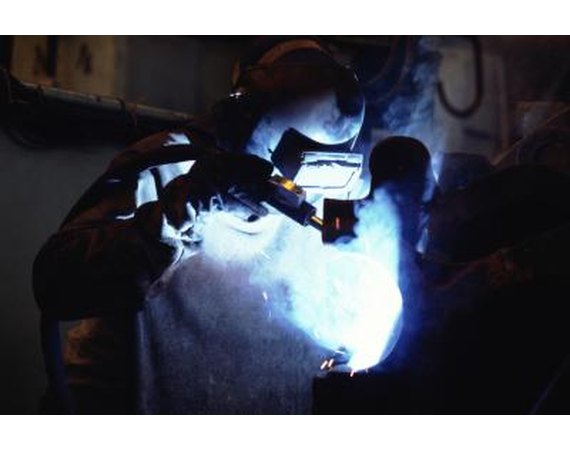
When welding thin aluminum sheet metal, you need to use the proper welding process to ensure that the thin aluminum does not warp or overheat. Tungsten inert gas (TIG) welding allows you the most control over the welding arc, decreasing the chances of overheating the weld joint of the thin aluminum sheet metal. TIG welding requires the use of a shielding gas to prevent porosity. Argon shielding gas dissipates the heat generated by the welding process and provides a heavy shield for the molten aluminum weld puddle.
Instructions
- 1
Clean the surface of the welding table with the dust brush to ensure that the table's surface is clear of debris.
2Lay the two pieces of aluminum flat on the cleaned surface of the welding table so they are touching each other.
3Remove the valve protector from the bottle of argon shielding gas and quickly open and close the valve handle to clear dust and debris from the valve.
4Attach the gas flow meter assembly from the TIG welder to the valve of the argon bottle and tighten the gas flow meter nut with the adjustable wrench.
5Turn the valve handle of the argon gas a half turn to start the flow of gas to the TIG welder. Put on your safety glasses.
6Sharpen both ends of the tungsten with the bench grinder. Be sure to sharpen the tungsten so the grooves from the bench grinder run the length of the tungsten, as opposed to around the tungsten's circumference.
7Put on your TIG welding gloves and welding hood.
8Insert the sharpened tungsten into the torch of the TIG welder and turn on the TIG welder.
9Adjust the TIG welder as specified by the TIG welder's metal thickness chart.
10Align the point of the sharpened tungsten with the weld joint created where the two sheets of aluminum touch, lower your welding hood and start the TIG welder to tack weld the two pieces of aluminum.
11Repeat the tack welding process every 2 inches until the entire weld joint is tacked.
12Hold the aluminum filler rod in one hand, a 1/2-inch away from the tacked weld joint.
13Lower your welding hood and set the tip of the tungsten an 1/8-inch away from the weld joint with the other hand.
14Start the TIG welder and feed the aluminum filler rod into the arc of the TIG welder to place a weld bead in the weld joint. Continue feeding the filler rod into the TIG arc until the entire joint is welded.
15Allow the welded thin aluminum sheets to fully cool before handling to avoid being burned.
0 comments:
Post a Comment