The Chevrolet Trailblazer is a medium-sized sport-utility vehicle that has enjoyed immense popularity since the release of the first generation models in 2002. Although the second generation Chevrolet Trailblazer is due for release in 2012, it will be manufactured in Thailand and Brazil. There are no plans to market the vehicle in North America. This has led to an increased interest in first generation models, and enthusiasts are customizing their vehicles in many different ways, with color-coded dashboards being especially popular.
Instructions
- 1
Take a screwdriver and remove the two screws on the left-hand side of the cigarette lighter, followed by the two screws positioned above the light gauges. Lift the plastic cover underneath the steering wheel and take out the two exposed screws. Do the same to the screws underneath the top section of the steering wheel cover. Pull the cigarette lighter recess firmly to pop out one corner before working around the dashboard to release it from the console aperture.
2Lower the steering wheel to access the last secured part of the dashboard and pop it out of the console completely. Disconnect all of the electrical units from behind the dashboard, including the lamp controller, the stereo, the rear windshield wiper switch and the air conditioning controls. Use a screwdriver to prize out the switches and stereo from behind and separate the switch surrounds from the dashboard so they can be painted individually.
3Take an ultra-fine grade soft sanding pad and rub down the front and sides of the main dashboard unit. Make sure that all areas of the dashboard are etched to ensure that the paint adheres correctly. Rub down the switch surrounds and blow off excess dust using an aerosol can of compressed air.
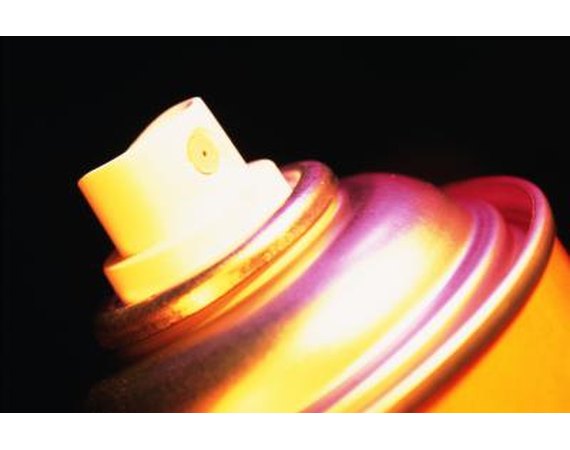
4Wipe off the components with degreaser and place them face up on a flat working surface. Take a tack cloth and wipe over the dashboard and surrounds to remove any remaining particles. Shake an aerosol can of your preferred color vigorously for at least two minutes before application.
5Create a spraying distance of approximately 10 inches and press down on the nozzle of the paint can. Keep the arm moving in left-to-right motions, taking care to ensure that each application of color crosses over the previous one. Make sure the sides of the dashboard are painted too otherwise old paint will still be visible on the edges after refitting. Remember to coat the underside of the switches as well.
6Leave the first coat to cure for 10 minutes. Add a subsequent second coat and leave for another 10 minutes before spraying a third and final coat. Allow the paint to dry for 15 minutes before adding two full coats of lacquer to create a gloss finish. Leave a curing period of five minutes between each coat of lacquer to help avoid the risk of unsightly runs or sags.
0 comments:
Post a Comment