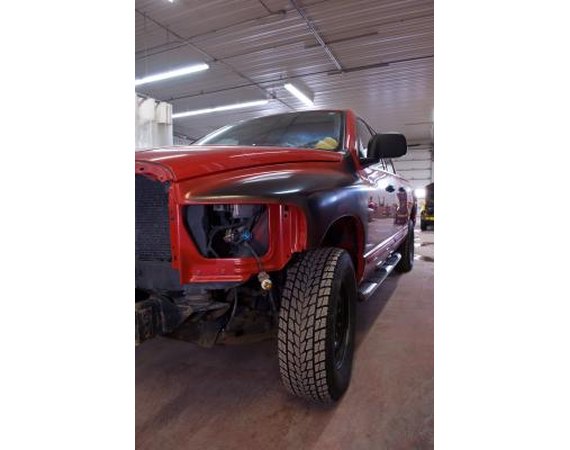
There are a couple of types of commonly used automotive spray primers that you can apply during the bodywork and finishing process.
There is finish or final primer and also high-build formulas. The finish primer is generally used for metal that already has a smooth finish or it may be applied over the high-build primer for a smoother finish.
The high-build primer is generally used when the metal is a bit rough and you need a slight buildup to help cover scratches or pinholes.
Application is the same, except the high-build needs more drying time between coats and before sanding.
Instructions
- 1
Sand off surface waxes and sand down surface paint, along with any bumps, using 60-grit or 120-grit sandpaper. If you use 60-grit, which will get you deeper under existing paint and remove debris and bumps, you should follow up with 120-grit to sand down scratches left by the harsh 60-grit paper, with your goal being to end up with a dull, smooth, oil-and-wax-free surface.
2Use your cloth or tack rag to remove all sanding dust and be sure any corners or crevices are dust free, or when you begin to spray particles may blow up into your finish. If you happen to have a compressor with an air blower attachment, this is ideal. Wash off the work with clean water and be sure the surface is completely dry.
3Be sure you have proper lighting set up and you are in a properly ventilated area with no direct drafts aimed at your work area.
4Shake the can, allowing the rattler to mix the paint thoroughly. Put on your face mask and with the nozzle of the can approximately 8 inches from the surface, begin spraying a light surface coat. There are two common methods of spraying. One is holding the nozzle down at all times, keeping the can moving, and the other is to shoot calculated shots of primer onto the surface. I prefer to shoot calculated shots since the primer is less likely to run, as it may when holding the nozzle down at all times, releasing a constant greater volume of product.
5Allow the first coat to dry before applying another. If you are using the finish primer, you can usually spray again within a minute or two, but if you are using the high-build you should wait 5 to 10 minutes between coats, possibly longer depending on the thickness of application and humidity and heat levels. You may also use a hair dryer to speed up drying time, holding it 8 to 10 inches from the wet primer and keeping it moving at all times.
6You goal is to apply 2 to 3 coats of primer, which then need to dry thoroughly, ideally some hours or even overnight, before the final step of fine sanding the primer.
7Using your 320- to 600-grit paper on your hand-held block sander, "lightly" sand the primer. Your goal is to smooth down any runs and flatten out the primer finish. Use the 320- or 120-grit for runs and bumps and 600-grit for final smoothing.
If you sand down too far and create a bald spot, a simple quick shot of fresh primer over the spot is all you will need, followed by a very light 600-grit sanding.
If there are any evident flaws, such as pinholes, either spray over with the high-build primer or work with a glazing spot putty, which will serve to fill in any pinholes or scratches.
Sand the glaze down with 120- to 320-grit and prime the area again.
0 comments:
Post a Comment