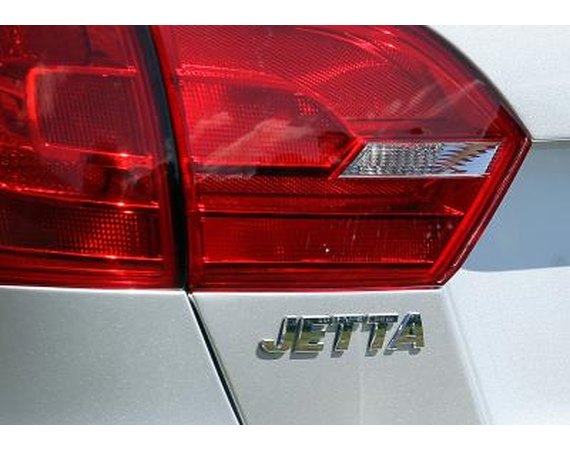
The doors on the Volkswagen Jetta are more than a method of entering the car; they are your primary protection from a side collision. The bumpers are also a primary safety feature, as they protect from collisions in front and behind. If any of your doors or bumpers have been damaged in a collision, you need to replace them quickly. Changing any of these body parts will likely require two people.
Instructions
Door
- 1
Disconnect the door's inner trim panel: With the negative battery cable disconnected, pry off the door pull cover, the pull handle grip and the power switch assembly with a trim tool. Unplug the switch's electrical connector. Remove all the screws securing the panel, pry along the panel's sides with the trim tool, lift the panel off the door and disconnect the inner door handle lock rod and the electrical connectors.
2Open the hood and remove the hood release handle assembly from the kick panel by removing its nuts and detaching it. This is only needed if you're removing the driver's door.
3Unplug the electrical connectors located at the front door pillar. Pull the rubber boot harness out of the body and then feed the harness out of its mount.
4Raise a jack underneath the door or have an assistant hold on to it as you remove the hinge bolts--remove the bottom cap on the top hinge's pin and drive the pin out with a punch and hammer, then scribe a line around the lower hinge and remove the lower bolt securing it to the door with a wrench. Lift the door away from the car.
5Position the replacement door on the body, using the scribe marks from the old door as a guide to align it properly. With the jack or assistant supporting it, bolt the lower hinge in place and then drive a new hinge pin into the upper hinge.
6Connect the door panel to the door in the reverse order that you removed it from the first door. Re-connect all other parts and connectors that were removed.
Bumpers
- 7
Raise the car's appropriate end and support it on jack stands. Apply the parking brake before raising the front end; block the front wheels with large wedges or blocks before raising the rear end.
8Remove the radiator grille for the front bumper: Remove the hood release handle with the hood open by raising the small cover where the handle connects to the release lever, prying the two sides of the handle from the lever's pins with a wide screwdriver and pulling the handle out through the grille's opening. Pull out the plastic pins at the grille's top, release the clips with a screwdriver and lift the grille out.
9Disconnect the taillight assemblies if you are removing the rear bumper by taking off the trim panels inside the trunk and removing the mounting fasteners.
10Remove the bumper cover's mounting bolts. On front bumpers, there should be four in front of each fenderwell, four through the front of the bumper cover and three where the grille was; on rear bumpers, there are four near each fenderwell, four along the bottom edge and one in each taillight opening.
11Lift the bumper cover off with an assistant's help. If you need to remove the bumper beam behind the cover, remove all of its nuts and bolts.
12Mount the replacement bumper on the car; if you are starting with the bumper beam, mount it and install its nuts and bolts. Slide the bumper cover in place with your assistant's help and apply all of its fasteners.
13Re-install all parts that you removed to access the bumper--the grille for the front bumper and the taillights for the rear--in the reverse order that you removed them, then lower the car.
0 comments:
Post a Comment